How to create an intent report
Last updated: October 8, 2026
An intent report shows the intent of the accounts in your segments, scored every week. Follow these steps to create one and choose which intent topics and competitors it tracks.
How many intent reports you can create and how many intent topics you can monitor depends on your plan. For your plan limits, contact your Account Manager.
1. Open intent reports
Go to intent reports:
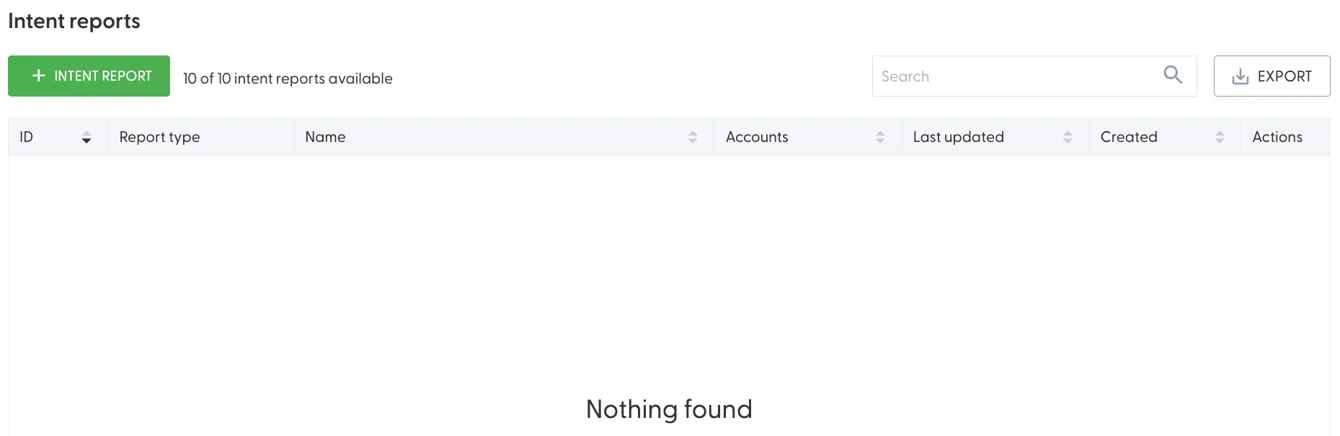
In the top right of the screen, select + Intent Report.
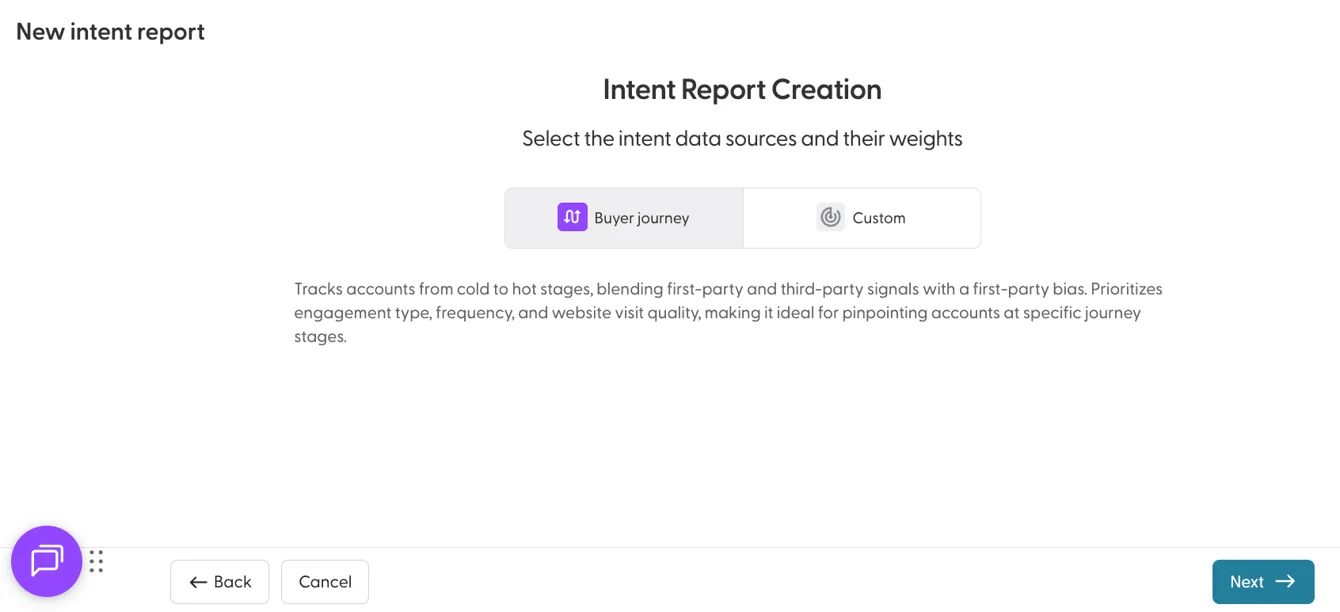
2. Choose the report type
Choose Buyer Journey or Custom. Not sure which one you need? See Buyer Journey or Custom: which intent report should I use?
To create a Buyer Journey intent report, or to use first-party intent in a Custom intent report, the Website Tag must be installed and collecting enough website data. N.Rich checks the tag's data from the last 4 weeks. If you installed the tag recently, you may see a message that data is still being collected. A CRM connection and campaigns are not required.
For a Custom report, set the data source weights: how much first-party and third-party intent count towards the score. Buyer Journey reports use predefined weights.
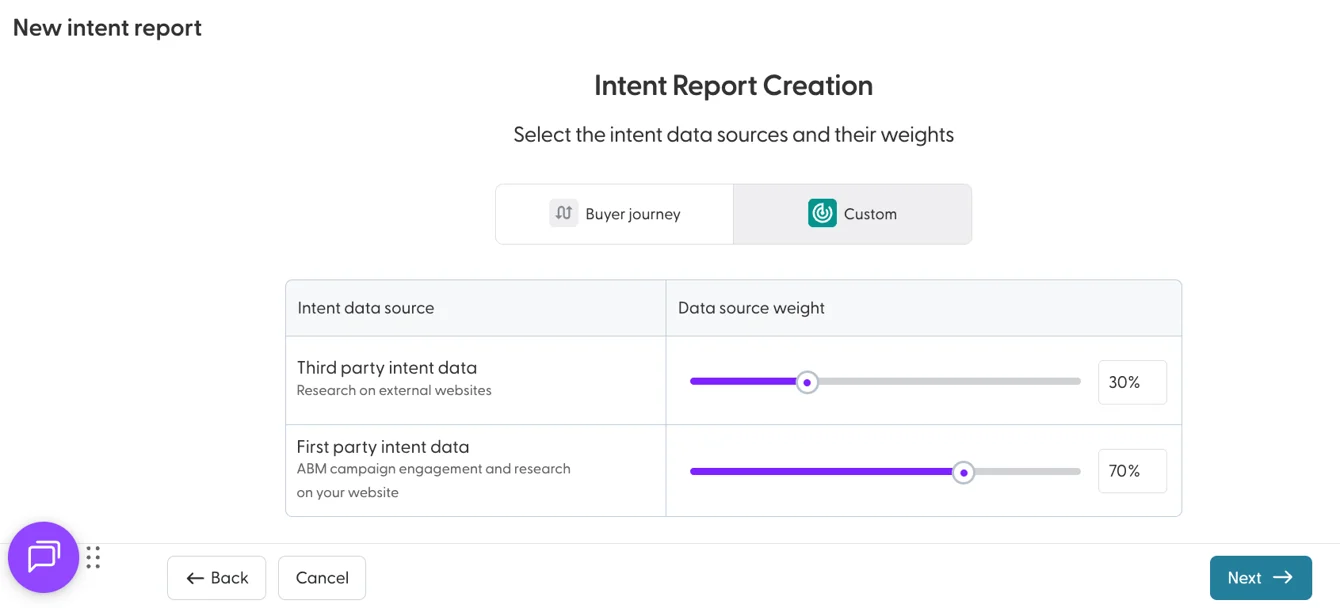
How the weights affect the score: How is the intent score calculated?
3. Choose the accounts to monitor
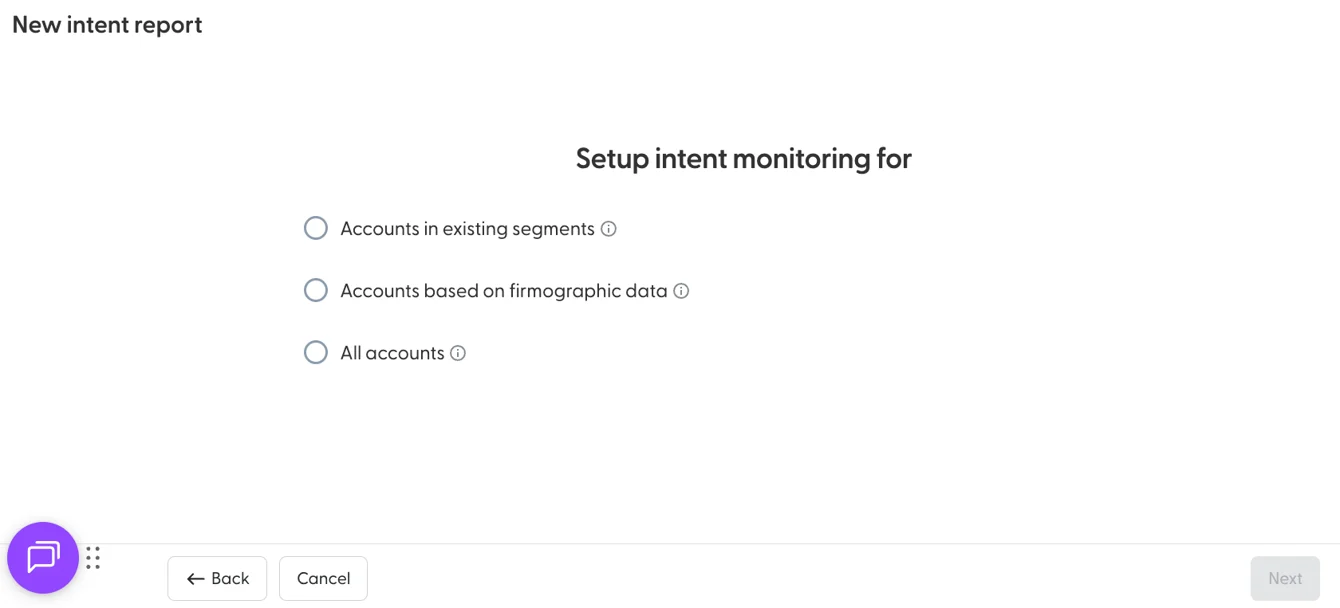
You have three options:
Accounts in existing segments: monitor the accounts in one or more of your segments.
Accounts based on firmographic data: monitor accounts by industry, country and company size.
All accounts: monitor all accounts in the N.Rich company database.
If you choose existing segments, select at least one segment. You can select several or all of them.
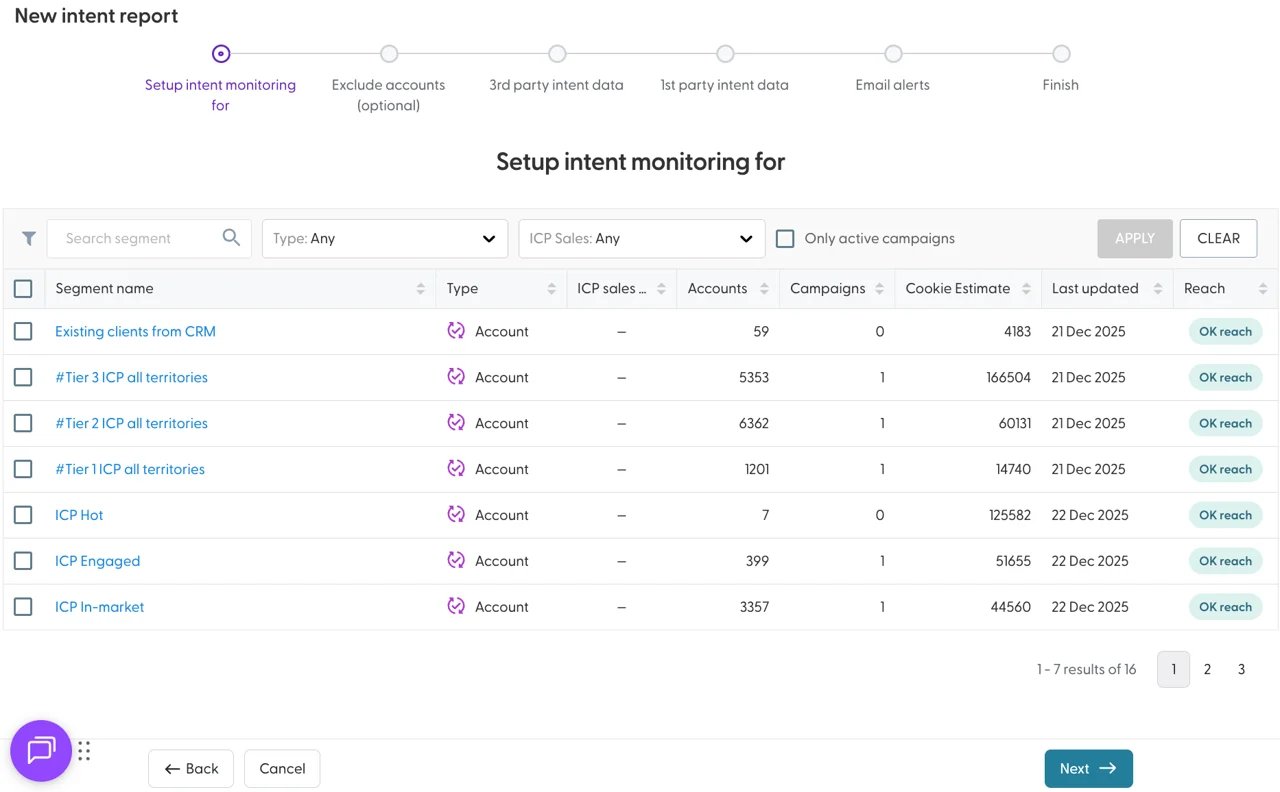
Use the filters at the top of the table to shorten the list. Tick Only active campaigns to show only segments targeted by active campaigns. Filters apply after you select Apply in the top right of the table.
4. Exclude segments (optional)
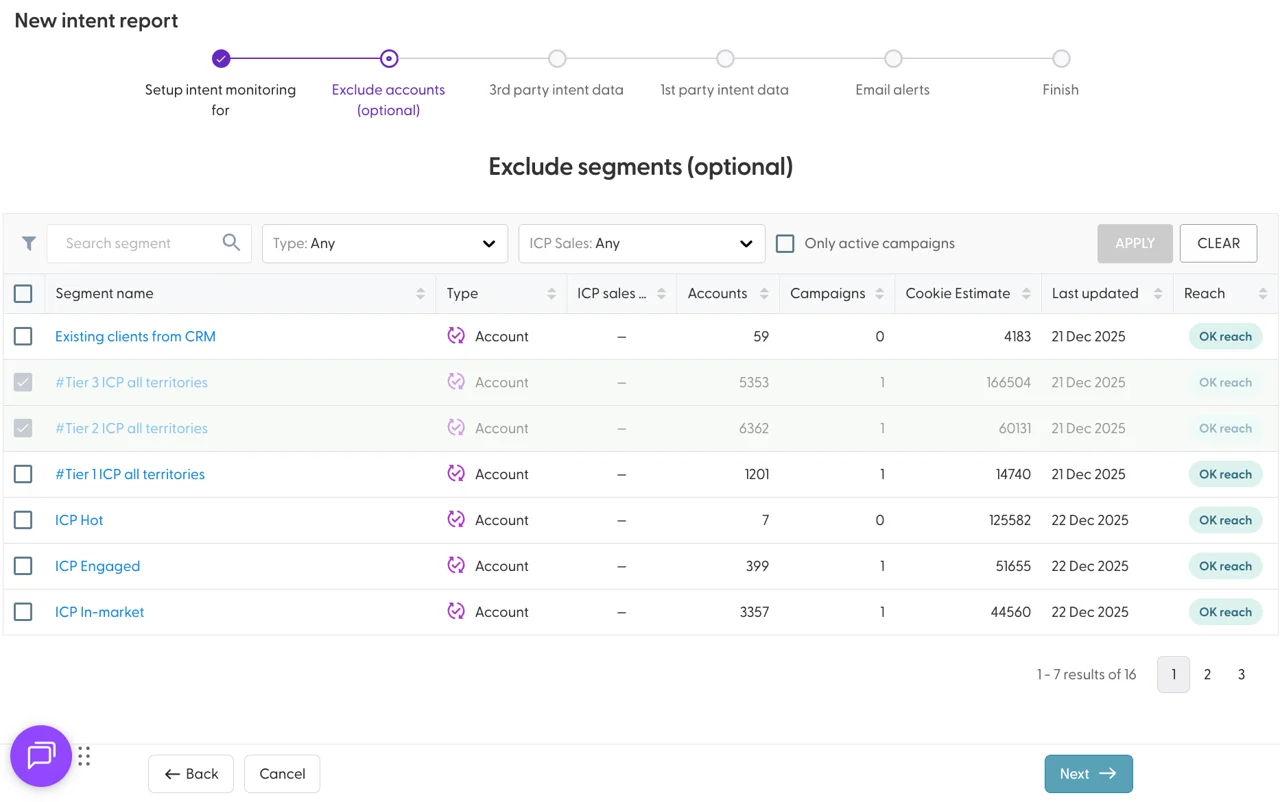
Exclude segments you don't want in the report. As with campaigns, exclusion wins: if an account is in both an included and an excluded segment, it is excluded. A segment you included can't also be excluded.
5. Choose intent topics and competitors
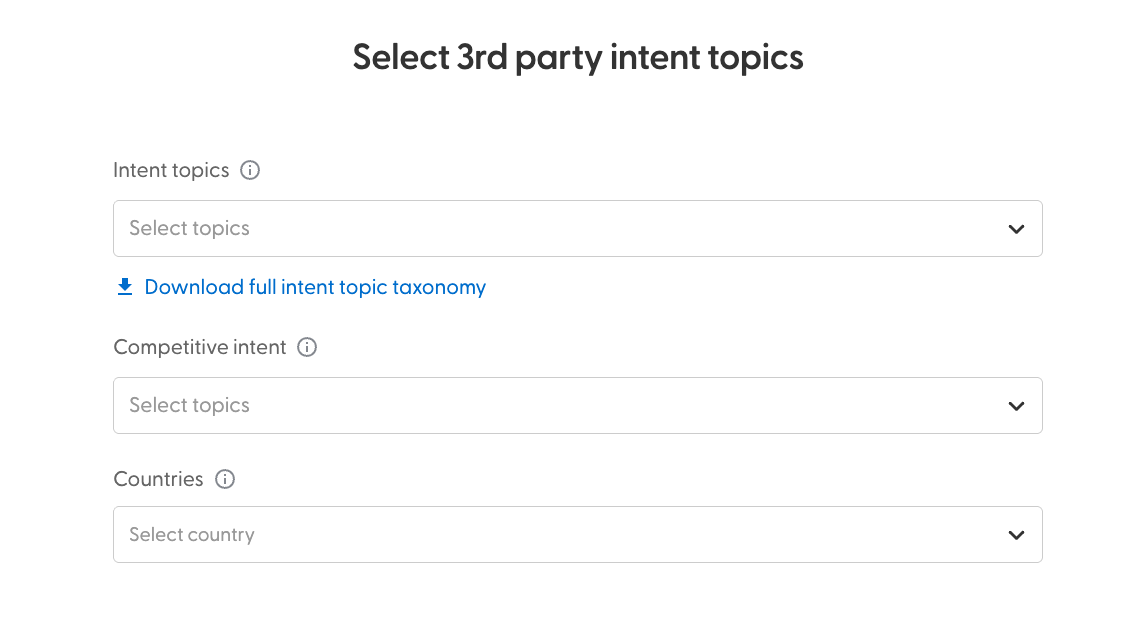
In the third-party intent step, choose what the report monitors:
Intent topics: the subjects you want to know accounts are researching
Competitive intent: the competitors you want to know accounts are researching
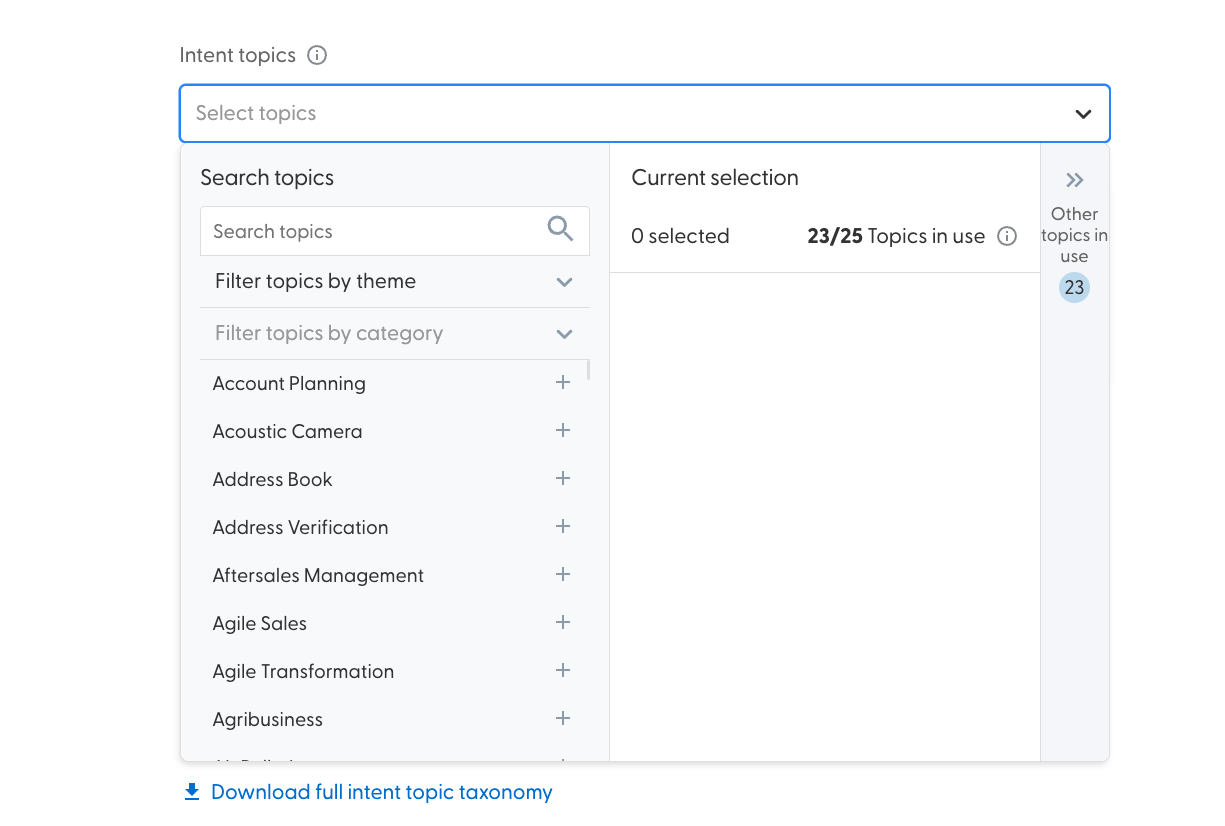
Click into a field to open the topic search. Search the whole taxonomy or browse topics by theme. The search also shows how many topics of your allowance you have used, and which topics you already monitor in other reports.
Download the full, latest taxonomy (updated weekly):
To limit third-party intent to specific countries, add them in the Countries field.
Good to know:
Intent topics and competitors count towards the same topic limit. The limit is shared across all your intent reports, and a topic used in several reports counts once.
All topic slots used? See How to free up intent topic slots.
Can't find a topic or competitor? Request it to be added.
Need to track your own keywords? See What are custom intent topics and how do I get them?
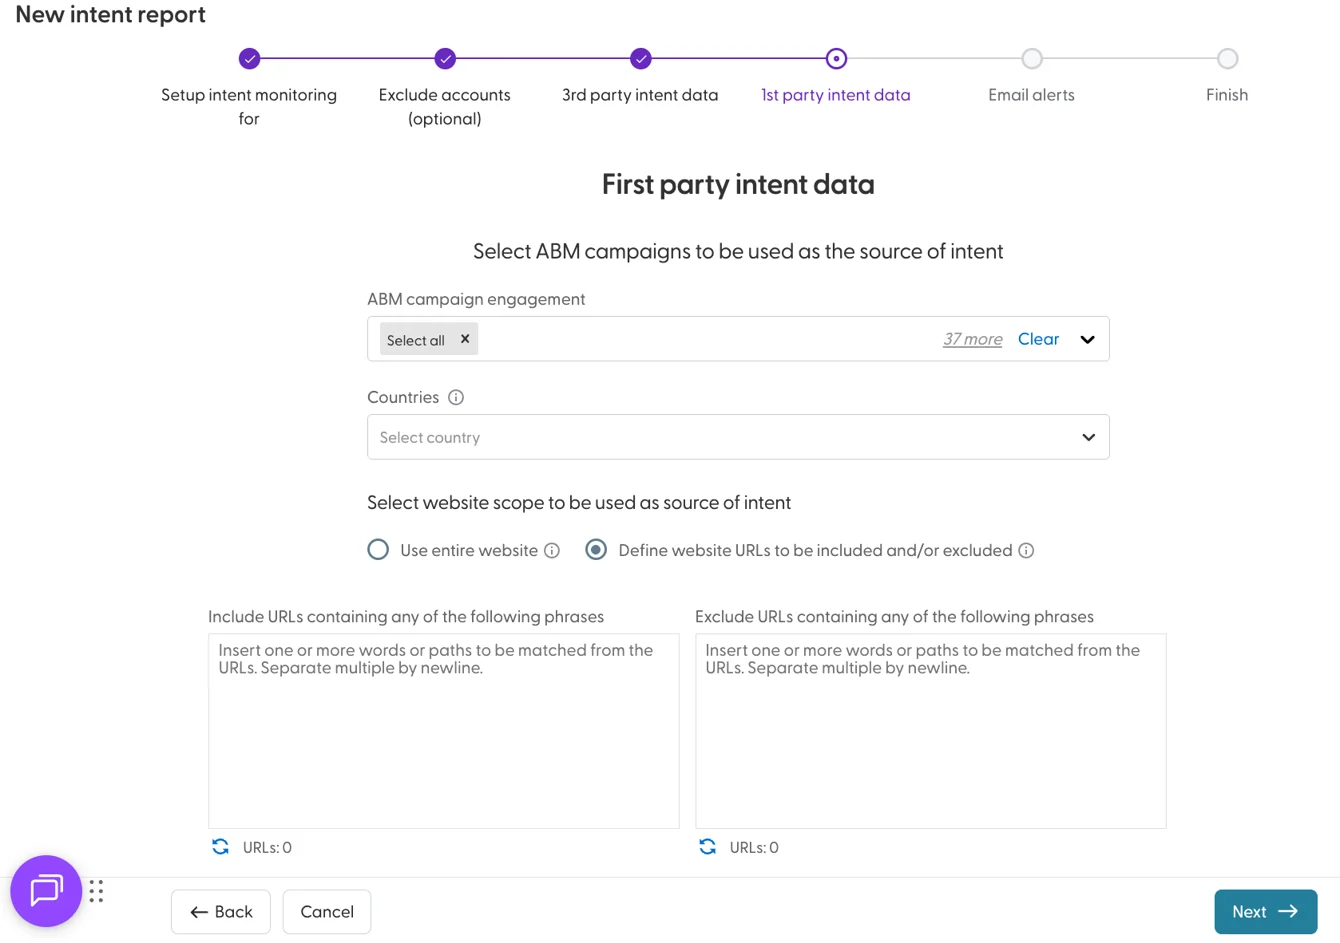
6. Set up first-party intent
Choose which campaigns are in scope of the report, which countries count for first-party intent, and whether your whole website or only specific URLs influence the first-party score.
7. Turn on email alerts (optional)
Get the top accounts from this report in your inbox every Monday. See How to set up weekly intent email alerts.
8. Name the report and finish
Give the report a name and check which segments are included and excluded.
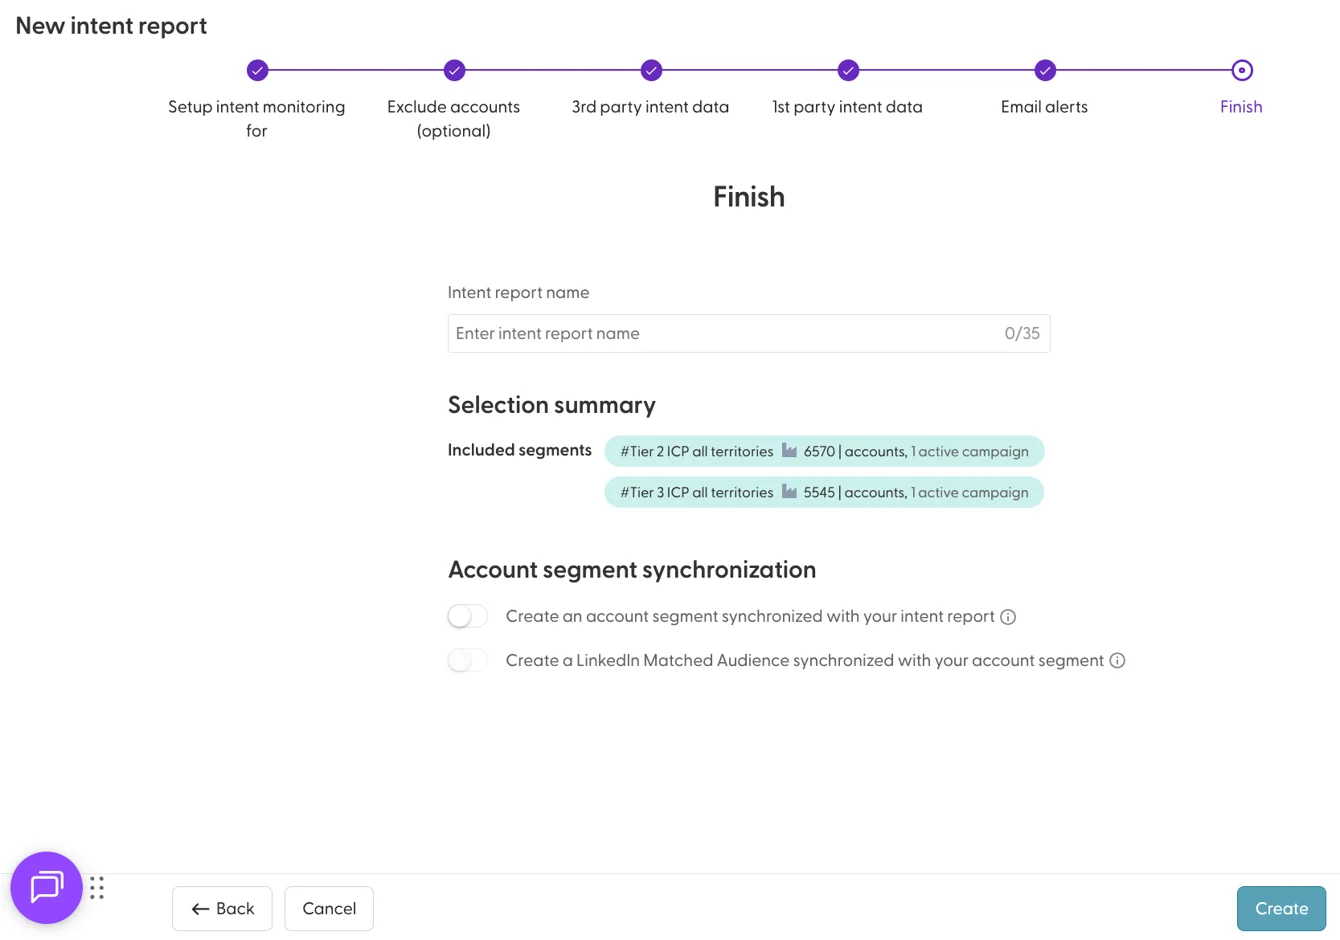
Here you can also:
Create a dynamic segment and workflow tied to this report, so accounts are added automatically. See Intent-Based Workflows.
Connect the new dynamic segment to a LinkedIn matched audience. See N.Rich Segments & LinkedIn Matched Audiences.
Intent data is calculated once a week. See When is intent data updated?
What's next
Need help? Reach out to your Solutions Engineer via the chat in the bottom-left corner of the N.Rich platform, by email or Slack.